
 Dutch
Dutch
No products in the cart.
Lechat Tutorial
Everything You Need to Know About Gel Nails: Application and Removal Guide
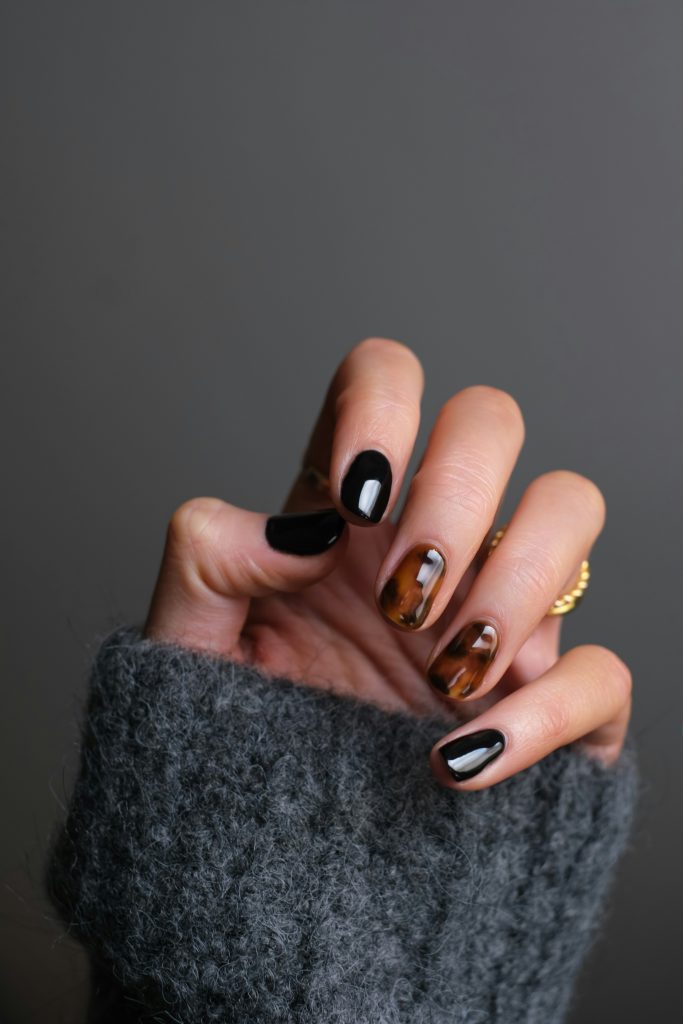
Gel nails have become a go-to option for many people looking to achieve beautiful, long-lasting manicures. They offer a polished look and durability that regular nail polish can’t match. Whether you’re someone who loves to take care of their nails at home or you’re looking to develop your skills further, understanding the step-by-step process of applying and removing gel nails is essential. This guide will walk you through how to apply gel nails, what you need for a DIY starter kit, and the best ways to remove gel nail polish safely at home.
How to Apply Gel Nails at Home: A Step-by-Step Guide
If you’re ready to start your gel nails journey, first, make sure you have the right tools and products. Here’s what you need for a complete starter kit:
Essential Tools for a Gel Nail Starter Kit:
- UV/LED Nail Lamp: This is a must-have for curing gel polish. It ensures that the gel hardens quickly and properly.
- Gel Nail Polish: Choose a high-quality gel nail polish in your preferred color.
- Base Coat and Top Coat: These help the polish adhere to your nails and provide a long-lasting finish.
- Nail File and Buffer: Essential for shaping your nails and creating a smooth surface.
- Cuticle Pusher: To gently push back your cuticles and create a clean application area.
- Isopropyl Alcohol: Used to remove any sticky residue after curing the gel.
Step-by-Step Process:
- Prep Your Nails: Start by removing any existing polish and filing your nails to the desired shape. Use a buffer to smooth the nail surface.
- Push Back Your Cuticles: Gently push your cuticles back with the cuticle pusher to avoid smudging the polish onto the skin.
- Apply the Base Coat: Apply a thin layer of base coat and cure it under the UV/LED lamp for about 30-60 seconds, following the manufacturer’s instructions.
- Apply the Gel Polish: Apply a thin layer of gel polish in your chosen color and cure it under the lamp for the recommended time. Repeat this step to apply a second layer if needed.
- Seal with a Top Coat: Once your last layer of gel polish has cured, apply a top coat for added shine and protection. Cure it under the lamp as instructed.
- Clean the Nails: Use a lint-free wipe and isopropyl alcohol to remove the sticky residue from the surface of the gel.
How to Remove Gel Nails: Two Effective Methods
Removing gel nails properly is key to maintaining healthy nails. Here, we’ll explore two popular methods to safely remove gel nail polish at home.
- Using a Nail Drill or Electric Nail File
For those looking for a faster removal process, using a nail drill or electric nail file is an excellent option. Here’s how to use it:- Set Up Your Tools: Ensure you have the nail drill with a fine sanding band or a specific attachment for gel removal.
- Gently Buff the Top Layer: Turn the drill to a low speed and gently file off the top layer of the gel polish. Be careful not to damage the natural nail underneath.
- Soak and Wipe: After buffing, use a nail buffer to lightly scrape away the softened gel. Follow this with a quick wipe of isopropyl alcohol to clear any remaining residue.
- The Aluminum Foil and Cotton Method
This method is more traditional but equally effective. Here’s how to do it:- Soak Cotton Pads: Saturate small pieces of cotton pads with acetone.
- Apply to Nails: Place the soaked cotton pad directly on the nail and wrap it with a piece of aluminum foil to secure it in place. This creates a sealed environment that helps break down the gel.
- Wait and Remove: Let the cotton and foil sit for 15-20 minutes. After waiting, remove the foil and gently peel off the gel using an orange wood stick or a cuticle pusher.
- Clean Up: Use isopropyl alcohol to wipe off any leftover residue, and apply cuticle oil to hydrate the nails.
For a visual demonstration of these methods, you can watch the helpful videos below!
Tips for a Smooth Gel Removal Process
- Be Patient: Whether you’re using a nail drill or the foil method, don’t rush the process. Taking your time helps prevent damage to your natural nails.
- Moisturize Your Nails: After removing gel nails, your nails may feel dry. Applying a nourishing cuticle oil or hand lotion will keep your nails and cuticles hydrated.
Final Thoughts
Gel nails offer a convenient and durable way to keep your nails looking their best. While applying and maintaining them at home can be a rewarding experience, understanding the best methods for removal is equally important. By following these steps and using the right tools, you can enjoy salon-quality gel nails from the comfort of your home. Whether you opt for the nail drill method or the foil and cotton technique, be sure to treat your nails with care to keep them healthy and beautiful.
Ready to get started on your gel nails journey? Check out our range of high-quality gel nail kits and products to achieve the perfect manicure at home. Don’t wait—treat your nails to the professional care they deserve!
